Purpose
To create a grouping of load combination including unique loads, which can be combined with any other loads, whether program-generated or not.
Note: This is the first step in a two-part process. After defining groups of special loads on this window, you must use the Load Combination Editor to combine the loads and apply them. See User Load Groups in Load Combination Manager for more information.
Steps
 Watch video - Special Load Attachments
- Individual loads do not have a specific load type; the usage and combination is entirely user-defined.
- These loads are not used in any program-generated load combinations, but are editable in the Load Combinations Manager.
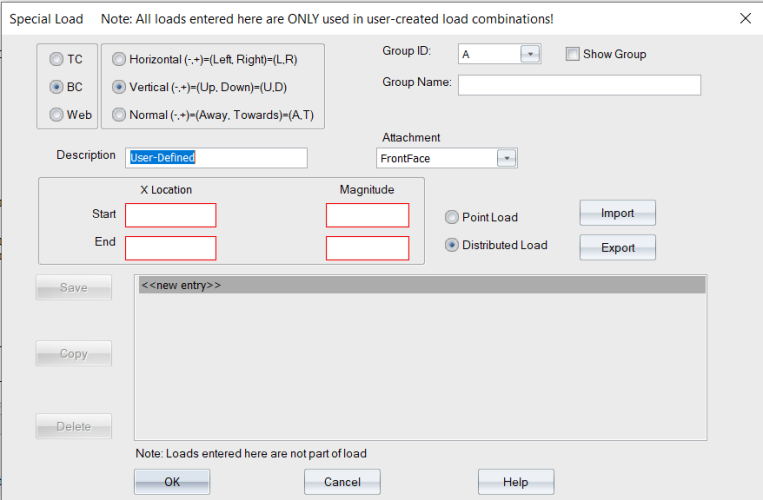
- Each unique load must have a specified domain (TC, BC, or Web; default is BC).
- Each unique load must have a specified application as Vertical, Horizontal, or Normal; (default is Vertical).
- For distributed loads, each unique load must have a specified X location for point loads, or a specified Start X and End X location.
- Each unique load may have a specified Y location, but it is not required except for web applied loads where the web is vertical and horizontal PLF loads.
- Each unique load may have an optional Description.
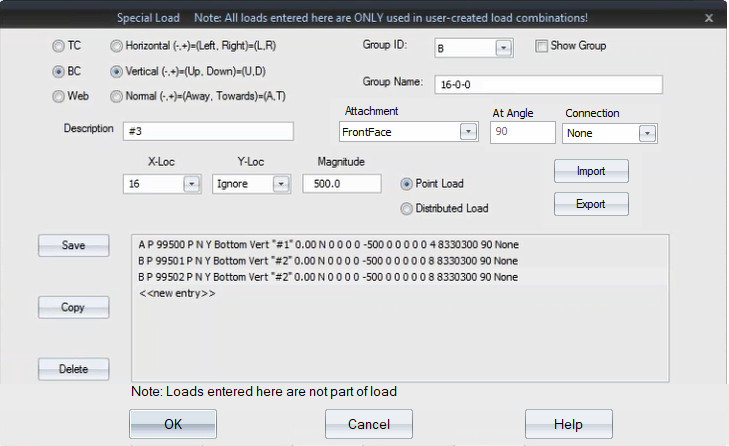
- Each unique load must have a specified Group ID (the default is A; select any letter from A to Z).
- Each unique load group may have an optional Group Name, that is appended to the Group ID.
1. Select a location for the load (TC/BC/Web).
2. Select a Group ID and optionally provide a Group Name.
3. Enter the X-Loc, Y-Loc (if needed), and Magnitude of the point load.
4. Select a load Attachment option from the dropdown list.
Note: The Attachment option allows you to specify whether a special load is from the Front face, Back face, or Across All Plies, which changes how ply-to-ply fastener calculations are performed for those loads.
5. Select Point Load as the type.
 Note: If the Show Group check box is selected, only loads for the selected Group ID display.
6. Click Save. Repeat this procedure for each load you want to add.
The special loads are saved and appear in the list. Each load is assigned a group ID prefix indicating which group it belongs to (A-Z).
7. Click OK.
Adding a Distributed Load
- Follow steps 1-3 in the procedure above.
- Select Distributed Load.
- Enter the X-Loc, Y-Loc (if needed), and Magnitude for the Start and End location of the distributed load.
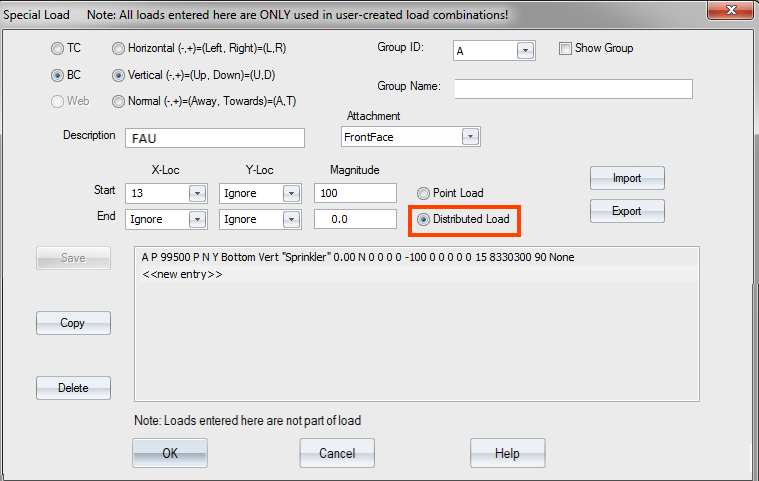
- Click Save to display the distributed load in the list.
- Click OK to exit the dialog.
- Click OK to close the Component Loads window.
Note: Special loads are not automatically passed on when there is a girder connection.
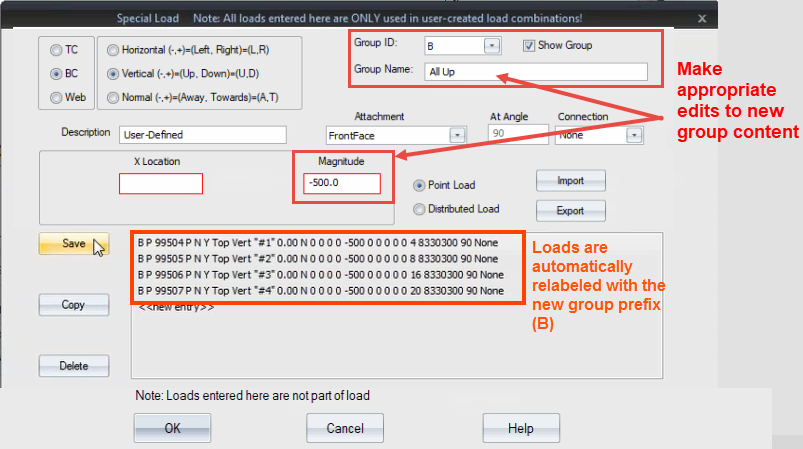
Edit Special Loads
You can easily copy and edit loads you created previously.
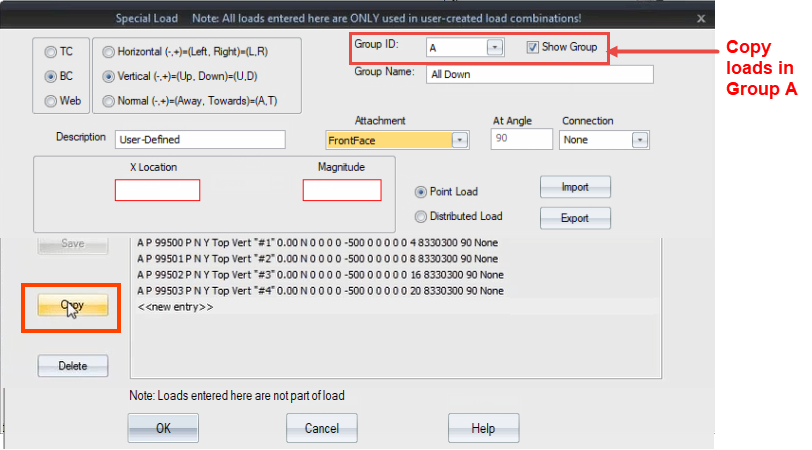
All loads in the selected group are copied and automatically placed in their own group.
For example, if you copy the loads in Group A, Truss Studio copies them and places in them in Group B. You can then assign this group a unique name and edit each load.
Note that you need to select a load in the list before you can enter a Group Name. To view all loads, regardless of group, uncheck the Show Group checkbox.
- Click Save to save any changes.
- Click OK to close the window.
You must go into the Load Combination Editor to apply the loads.
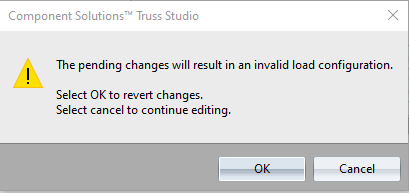
Note: Invalid input is highlighted by a warning message.